
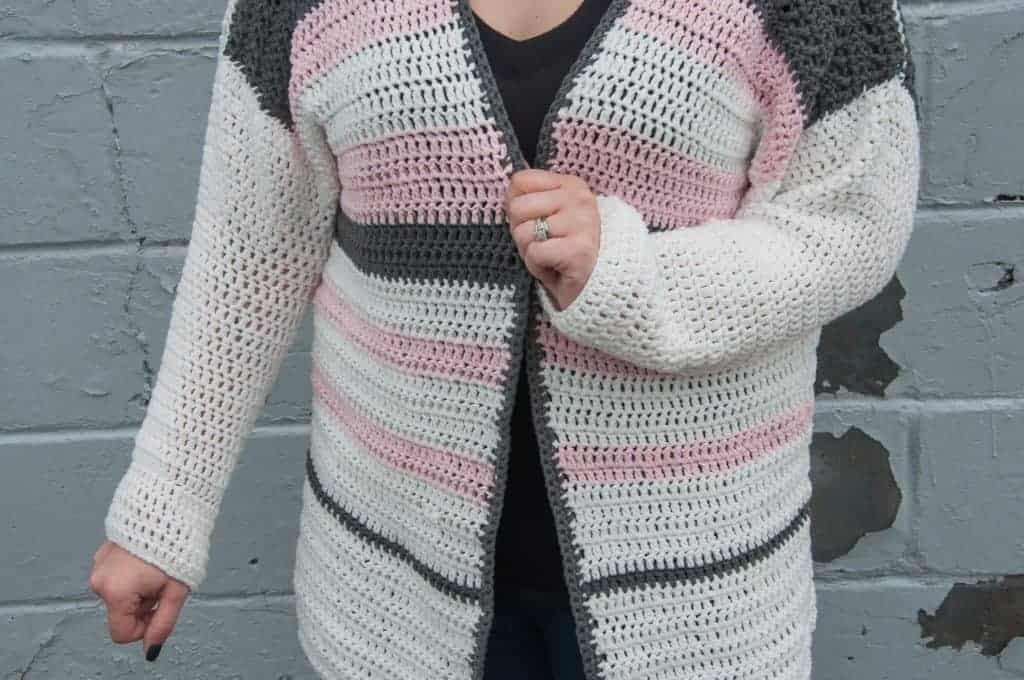
You are now viewing the Creation Cardigan by guest designer Samantha Bartley.
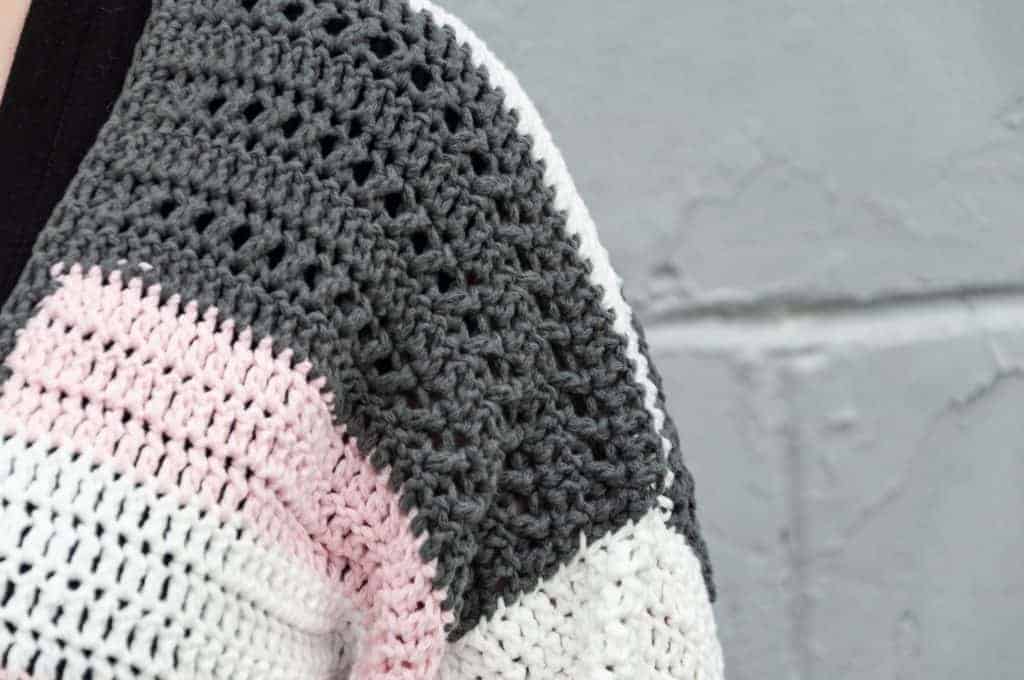
You are going to love this striped crochet pattern for a crochet Creation cardigan.
Find more: Free Crochet Cardigan Patterns for Women.

Table of Contents

Pattern Overview

Would you like to save this?
We will email this pattern to you, so you can come back to it later.
Free, and you can unsubscribe any time.
If you like this crochet pattern, save it on Pinterest!

THE PERFECT FALL, WINTER & SPRING CROCHET PROJECT
This cardigan is essentially perfect for fall, winter, and spring. You could layer it with a cute long sleeve under and a triangle shawl on top or all on its own as something to keep that cool breeze at bay. Personally, it’s my favorite to wear when I am working because it reminds me of a blanket and who doesn’t want to be wrapped up in a blanket 24/7.

Helpful Tools & Tips
Not Ready to Crochet it Yet?!

- Share about this crochet pattern on Instagram & Facebook using #joyofmotioncrochet.
- Save on Pinterest to make it later.
 About the Creation Cardigan
The Creation Cardigan is perfect for any beginner crocheter looking to push their skills a little bit. My cardigan took me about 14 hours to make, some of my testers finished two (almost 3) in a week, and some were hitting the two week deadline on their first. It really just depends on how long you crochet, how quick you are, and a variety of other variables. This is an oversized cardigan (by about 2 sizes) so if you want a more fitted look, drop down a size. I am normally a size medium (6/8) in women’s tops and I made it in size medium.
Project level: Easy
 Materials
Crochet Hook Size
Yarn
- Yarn
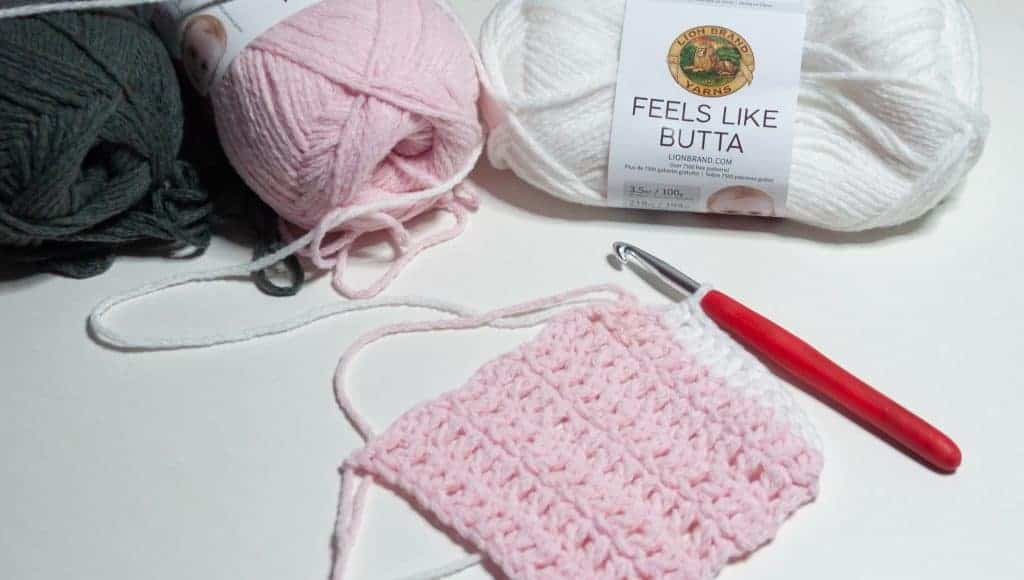
- Lion Brand – Feels Like Butta in color Pink, White, and Charcoal
- Weight
- 4 Medium Yarn
- Fiber
- 100% polyester
Yarn amount needed:
| Size | Skeins | Yards |
|---|---|---|
| S | 8 | 1545 |
| M | 9 | 1775 |
| L | 10 | 2020 |
| XL | 11 | 2280 |
| 2XL | 12 | 2560 |
One skein is 100 grams · 199 meters · 218 yards.
Other Materials Needed
 Gauge
Measured over double crochets rows stitches crocheted in rows:
13 stitches & 7 rows per 10 cm / 4".
 Crochet Pattern Notes
- This crochet pattern is written in US terms (more details).
- All measurements given are unblocked.
- I did a color chart for Medium only which I have added to the paid version. This also looks lovely in a solid color so it gives you the flexibility for whatever you have enough yarn for.
- Note that measurements are given as exact as possible. But crochet tension & technique might give variations in the result, that changes from person to person.
- Read pattern instructions carefully before beginning to make sure you understand everything. It might save you hours frogging your work & crocheting it again!
- Make a swatch that measure at least 10 x 10 cm / 4 x 4 inches using the stitch the gauge is given for. If your swatch matches the gauge, you’re good to go. If the gauge is wrong, you might need to change your hook. Go up in crochet hook size if your stitches are smaller & go down in crochet hook size if your stitches are bigger (more details).
- Check yarn info if you want to find an alternative or test your yarn against the gauge (more details).
- At the end of each row, the stitch count is given in parenthesis.
 Sizes and Measurements

- Small – 21” wide, 28” long, 17” sleeve & 19” arm hole
- Medium- 23” wide, 30” long, 18” sleeve & 20” arm hole
- Large- 25” wide, 32” long, 19” sleeve & 21” arm hole
- XL- 27” wide, 34” long, 20” sleeve & 22” arm hole
- 2X- 29” wide, 36” long, 21” sleeve & 23” arm hole
 Abbreviations
- ch = chain
- dc = double crochet
- sc = single crochet
- slst = slip stitch
- x st = modified X stitch
We try our best to include all crochet abbreviations in the list above for the crochet pattern, but sometimes we may forget one or two.
Learn more about crochet abbreviations & find a complete list on our Crochet Abbreviations & Terms post.
 Stitches You Will Need

Modified X Stitch
Dc in the 1st stitch, skip the 2nd st and dc in the 3rd st, then go behind the dc in the 3rd st and dc into the skipped spot
 Instructions for the Creation Cardigan
Back PANEL:
** Rows are in italics, stitch count is bold**
Starting with Color A (or your main color, I used white), we are working from the bottom up.
Chain 71 ( 77, 83, 89, 95)
Row 1- Dc in 3rd stitch from hook and dc across, ch 2 and turn – (69, 75, 81, 87, 93)
Row 2- Dc across, ch 2 and turn –(69, 75, 81, 87, 93)
Row 3- 41 (44, 48, 51, 54) – Repeat row 2 (69, 75, 81, 87, 93)
Row 42 (45, 49, 52, 55)– Dc in the 1st stitch, *skip the 2nd st and dc in the 3rd st, then go behind the dc in the 3rd st and dc into the skipped spot* repeat across until there are 2 stitches left and dc in the last 2 stitches, chain 2 and turn (69, 75, 81, 87, 93)
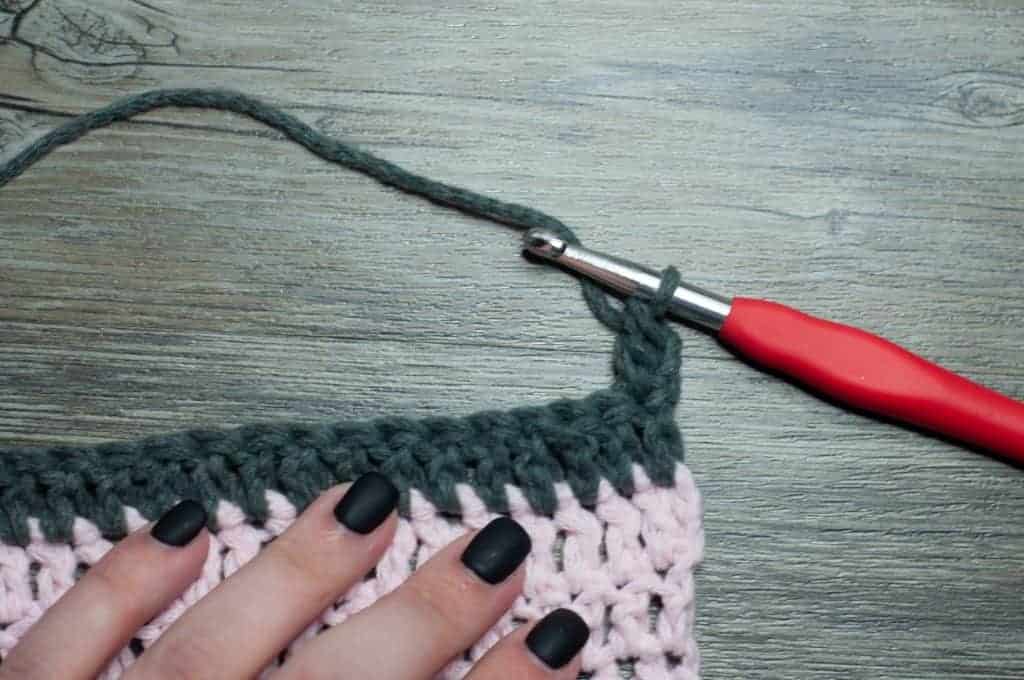
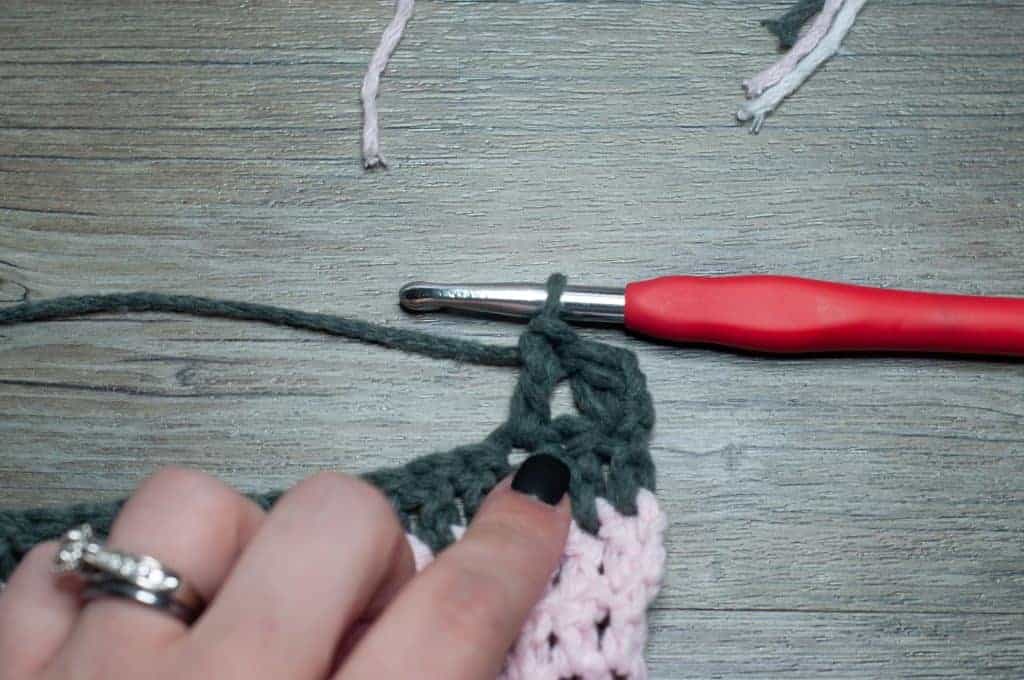
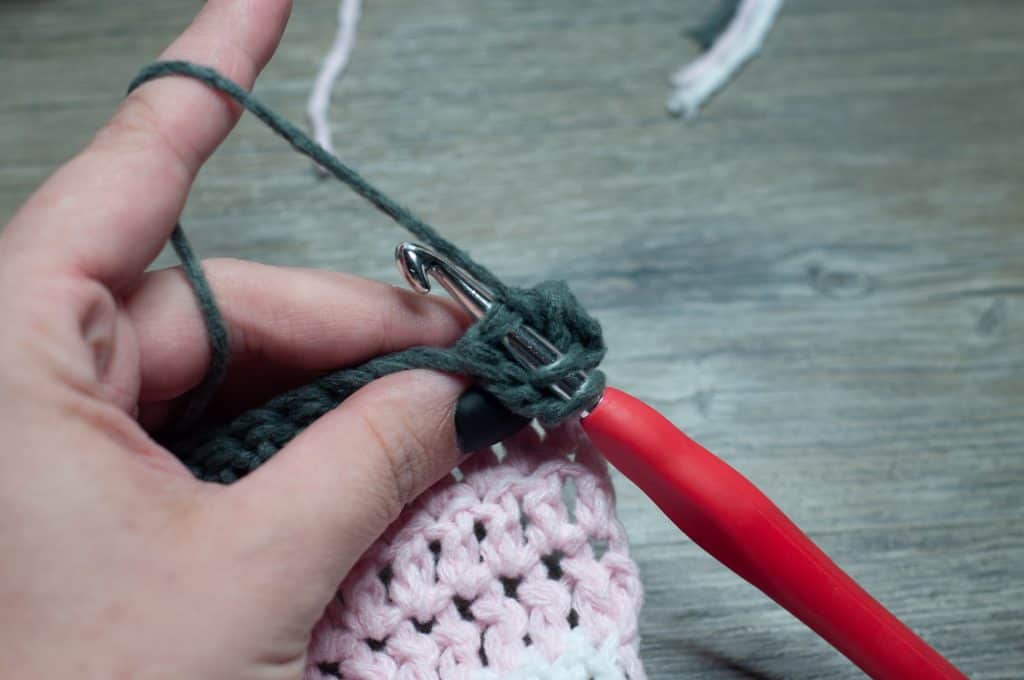
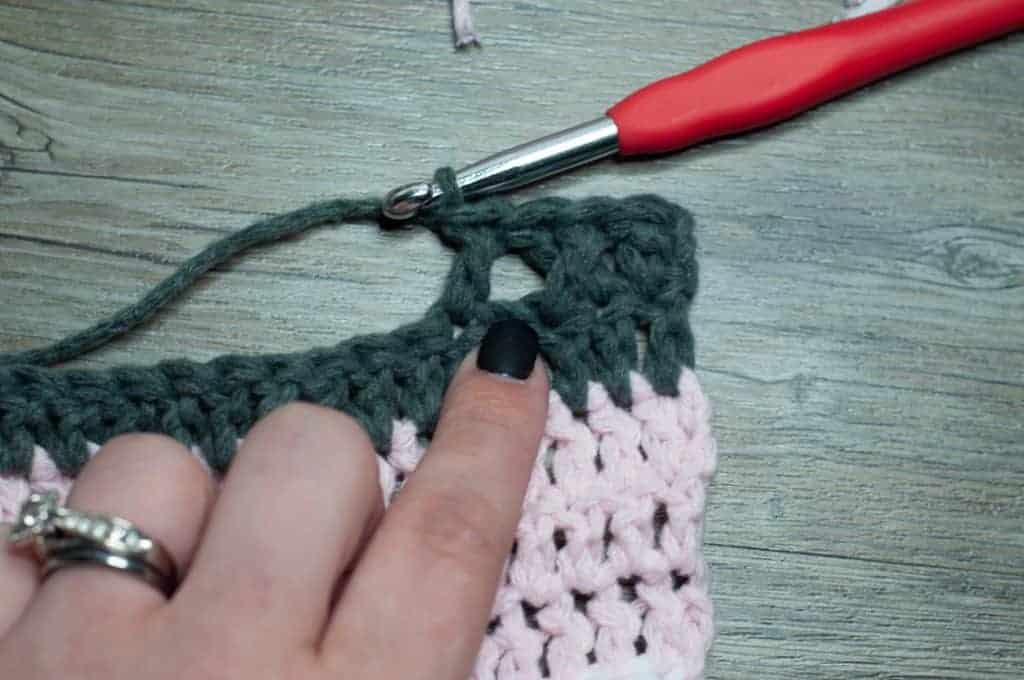
Row 43 (46, 50, 53, 56) – Dc across, ch 2 and turn (69, 75, 81, 87, 93)
Row 44 (47, 51, 54, 57) – Dc in the 1st stitch, *skip the 2nd st and dc in the 3rd st, then go behind the dc in the 3rd st and dc into the skipped spot* repeat across until there are 2 stitches left and dc in the last 2 stitches, chain 2 and turn (69, 75, 81, 87, 93)
Row 45 (48, 52, 55, 58)– Dc across, ch 2 and turn (69, 75, 81, 87, 93)
Row 46 (49, 53, 56, 59)– Dc in the 1st stitch, *skip the 2nd st and dc in the 3rd st, then go behind the dc in the 3rd st and dc into the skipped spot* repeat across until there are 2 stitches left and dc in the last 2 stitches, chain 2 and turn (69, 75, 81, 87, 93)
Row 47 (50, 54, 57, 60)– Dc across, ch 2 and turn (69, 75, 81, 87, 93)
Row 48 (51, 55, 58, 61)– Dc across, ch 1 and turn (69, 75, 81, 87, 93)
Row 49 (52, 56, 59, 62)– Sc across, finish off and weave in ends. (69, 75, 81, 87, 93)
FRONT PANELS (Make 2, but please note the changes when you get to the “x stitch”)
** Rows are in italics, stitch count is bold**
Starting with Color A (or your main color, I used white), we are working from the bottom up.
Chain 31 (33, 35, 37, 39)
Row 1- Dc in 3rd chain from hook, dc across, ch 2 and turn ( 29, 31, 33, 35, 37)
Row 2- Dc across, ch 2 and turn ( 29, 31, 33, 35, 37)
Row 3- 41 (44, 48, 51, 54) – Repeat row 2 ( 29, 31, 33, 35, 37)
Row 42 (45, 49, 52, 55)– Dc in the 1st stitch, *skip the 2nd st and dc in the 3rd st, then go behind the dc in the 3rd st and dc into the skipped spot* repeat across until there are 2 stitches left and dc in the last 2 stitches, chain 2 and turn ( 29, 31, 33, 35, 37)
** For the 2nd panel, dc 2 in the first 2 stitches, then continue with the x stitches and dc 1 in the last stitch. This makes the side with 2 dc match the other side when seamed together to the back panel**
Row 43 (46, 50, 53, 56) – Dc across, ch 2 and turn ( 29, 31, 33, 35, 37)
Row 44 (47, 51, 54, 57) – Dc in the 1st stitch, *skip the 2nd st and dc in the 3rd st, then go behind the dc in the 3rd st and dc into the skipped spot* repeat across until there are 2 stitches left and dc in the last 2 stitches, chain 2 and turn ( 29, 31, 33, 35, 37)
Row 45 (48, 52, 55, 58)– Dc across, ch 2 and turn ( 29, 31, 33, 35, 37)
Row 46 (49, 53, 56, 59)– Dc in the 1st stitch, *skip the 2nd st and dc in the 3rd st, then go behind the dc in the 3rd st and dc into the skipped spot* repeat across until there are 2 stitches left and dc in the last 2 stitches, chain 2 and turn ( 29, 31, 33, 35, 37)
Row 47 (50, 54, 57, 60)– Dc across, ch 2 and turn ( 29, 31, 33, 35, 37)
Row 48 (51, 55, 58, 61)– Dc across, ch 1 and turn ( 29, 31, 33, 35, 37)
Row 49 (52, 56, 59, 62)– Sc across, finish off and weave in ends. ( 29, 31, 33, 35, 37)
SLEEVES ** Make 2**
Starting with your main color, or whatever color you want them to be (there are no color changes in this part), we are working from the wrist up. If you need to make them longer or shorter, add rows before row 20 (21, 22, 23 ,24)
We are working in joined rounds here.
Chain 32 (34, 38, 42, 46) and slip stitch to first chain, be sure to not twist your chain, ch 2
Row 1– Dc in ch 2 spot and dc around, slst to join, ch 2 (32, 34, 38, 42, 46)
Row 2 -Skip the 1st stitch, dc in 2nd st, dc around, and dc in slst from previous row, slst to join, ch 2 (32, 34, 38, 42, 46)
Row 3– Dc in ch 2 spot and dc around, slst to join, ch 2 (32, 34, 38, 42, 46)
Row 4- 19 (20, 21, 22, 23) Rotate row 2 and row 3 – This makes the seam stay straighter, if you just did the dc in the 1st for all of the rows it would end up wrapping the seam around your arm.
Row 20 (21, 22, 23, 24)– *dc 2 in the 1st st, dc in the next 4 st* repeat from * to * around, slst to join, ch 2 (39, 41, 46, 51, 56)
Row 21 (22, 23, 24, 25)– Dc around, slst to join, ch 2 (39, 41, 46, 51, 56)
Row 22 (23, 24, 25, 26)–*dc 2 in the 1st st, dc in the next 4 st* repeat from * to * around, slst to join, ch 2 (47, 50, 56, 62, 68)
Row 23 (24, 25, 26, 27)– Dc around, slst to join, ch 2 (47, 50, 56, 62, 68)
Row 24 (25, 26, 27, 28)–*dc 2 in the 1st st, dc in the next 4 st* repeat from * to * around, slst to join, ch 2 (56, 51, 68, 75, 82)
Row 25 ( 26, 27, 28, 29)– Dc around, slst to join, ch 2 (56, 59, 68, 75, 82)
Row 26 (27, 28, 29, 30)–*dc 2 in the 1st st, dc in the next 4 st* repeat from * to * around, slst to join, ch 2 (66, 73, 82, 89, 98)
Row 27 (28, 29, 30, 31)– Dc around, slst to join, finish off and leave a VERY long tail to sew to the arm holes. (66, 73, 82, 89, 98)
 Finishing
SEAMING
I recommend weaving in all of your ends before you seam it together, making note with a stitch marker where your beginning tails are at (to know right and wrong side). I didn’t weave in anything first, and it was a bad time. Lay your back panel with the wrong side facing in (the yarn tail would be on the left side)
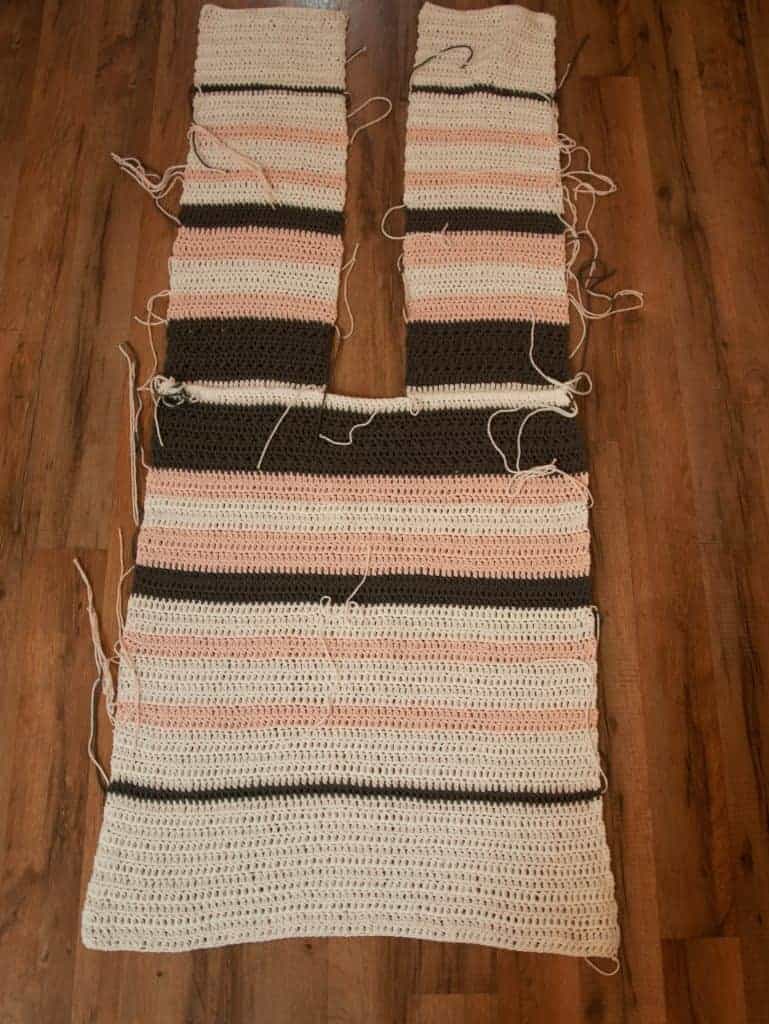
Take the front panels and lay those wrong side facing up as well. Slip Stitch (or whatever seam stitch you prefer) them to the top of the back panel.
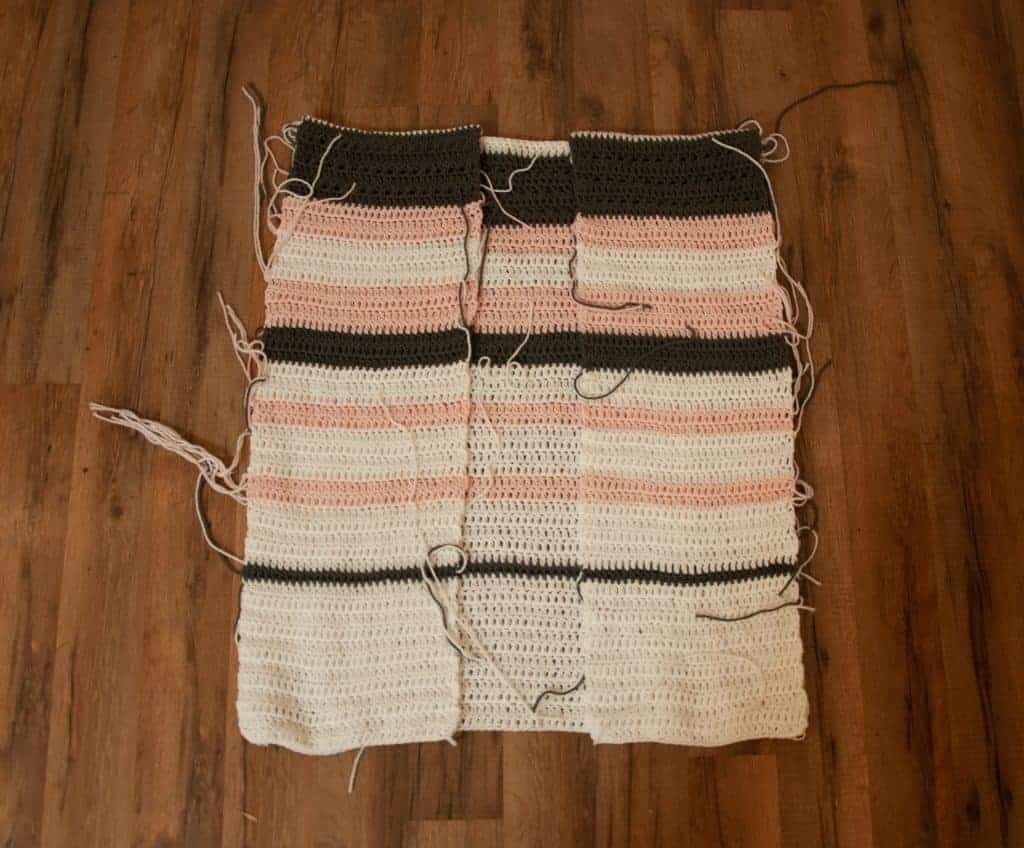
Flip the panels over the front of the back panel. Measure from the top of the shoulder down 9 inches ( 10”, 11”, 12”, 13”) and place a stitch marker. Turn your work inside out and seam from the stitch marker to the bottom of the cardigan.
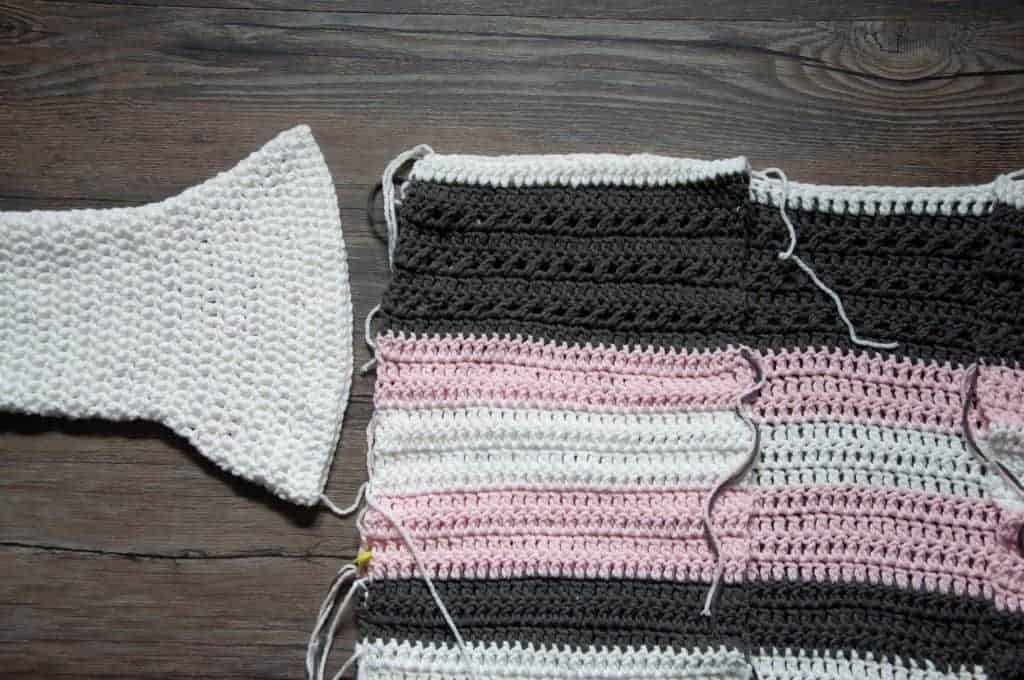
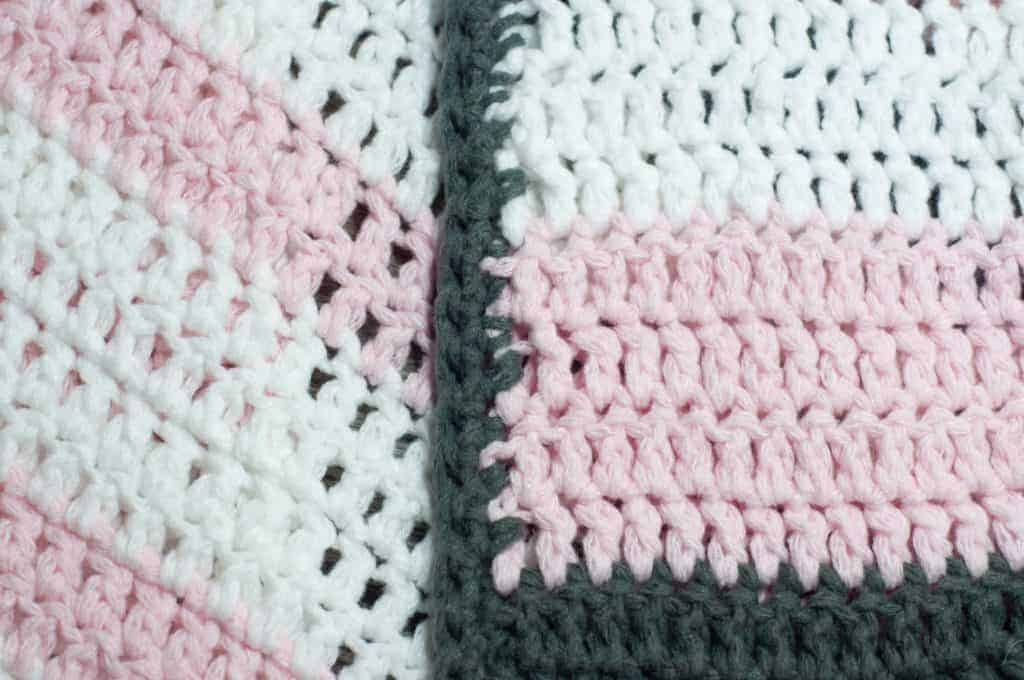
With your cardigan inside out still, turn your sleeves inside out and seam together, starting at the armpit with the seam of the sleeve facing down. Repeat for other sleeve and flip everything right side out. ADDING FRONT TRIM Attach yarn to bottom left corner of the cardigan when you are looking at it. Single crochet from that corner, around the neck line, and down the other side to the right corner. Chain 1 and turn. Sc back across everything and finish off at the starting point. Weave in remaining ends.
Share & Worth Noting

Thank you for sharing my FREE patterns & tutorials. When you do, you support me & the blog, which makes it possible to continue sharing free content with you.
Not all content on this blog website is free, but the more you share, the more free content I will be able to share. Note that all premium content are ad free.
My crochet patterns can be used to sell handmade pieces. You are required to credit Joy of Motion/Janne Kleivset as the designer by linking back to My website: https://joyofmotioncrochet.com. You can not use my pictures when selling your handmade items. Finally, you can not resell, reprint or share any parts of my patterns as your own.